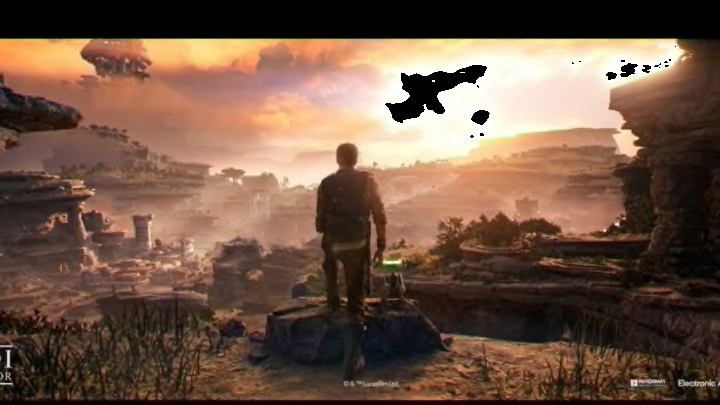
One of the things you’ll need to do in Star Wars Jedi: Survivor to pick up the 100% completion is to take out all of the legendary adversaries scattered throughout the game. There are 13 of them to find, and nine of them are on the biggest planet in the game, Koboh. You are better off waiting until you beat the main story as every navigation ability you need to progress is unlocked as part of the narrative. When you’re ready, check out the guide below to find out exactly where to find them all. Oh, and good luck.
Legendary Adversaries on Koboh
1. Vile Bilemaw – location Fogged Expanse. There’s a meditation point with a shortcut zipline. Use it and go over by the abandoned buildings for the settlers. When you get to the ledge right there at the side of the buildings, don’t jump across. You can slide down it to get to the area where the boss is.
2. Beetu Deetu – location Southern Reach. This will automatically spawn once you complete the story and start to walk into the location from the meditation point.
3. Massif – location Lucrehulk Core. Pretty easy to find. Need force lift ability. Go to the left from the save point and climb the metal wall there. Use force lift to open the door to find the enemy.
4. Gorocco Matriarch – location Derelict Dam. Find the big tar pit and use the elevator shortcut to get up top. There’s a door you’ll need to force lift and find the enemy inside.
5. Urgost – locations Observatory Understructure. Story related and actually you have to find this as part of your play.
6. Mire Terror – location Viscid Bog. Three giant rocks in the middle of the swamp here make this easy to find. Use force lift to move each one and you can enter the arena to take on the boss.
7. Rancor – location Sodden Grotto. There’s a save point right outside of Rambler’s Reach, the first main area. If you climb right up the cliff and enter the cave, you’ll find the Rancor at the end as you just go through.
8. Spawn of Oggdo – location Fort Kah’lin. Simply jump and grapple all the way to the top to find the nicely placed treasure in the middle of a circle. Yes, it’s a trap. As soon as you try to pick it up, you’ll fall into the fight.
9. E3-VE3 – location Untamed Downs. As I mentioned, you should wait to even go here until the end because you need force lift and dash to get through green doors. You’ll find a cave carved into a wall of rock here and force dash through. Then force lift the door open and fight the boss. It’s right after the wide open area near Rambler’s Reach to the right of it if you come in from the outpost.
Legendary Adversaries on Coruscant
10. D-L1T – location hangar. After you have all your abilities, come here and open the door that is locked electronically with your special jedi dart. He’s inside.
11. Frenzied Jotaz – location undercity meats. Go to the meat locker storage section thing right by the save point and unlock the door again with the electric dart. Same as above, he’s inside.
Legendary Adversaries on Jedha
12. Golden Skriton – location Desert ridge. Go to the green barrier in the rock wall. You don’t need to go through it, but right nearby is a sneak-through area where you’ll slide through from the ledge into where the boss is.
13. Sutaban Alpha – Crypt of Uhrma. You’ll need to use the code to get into this place, boss is at the end.
I hope this helps you out on your way to the Living Legend achievement/trophy in Star Wars Jedi: Survivor. Remember, trying to get these before the story is over is basically a fruitless endeavor as you’re progress will be blocked and you’ll waste precious time parkouring for nothing.
